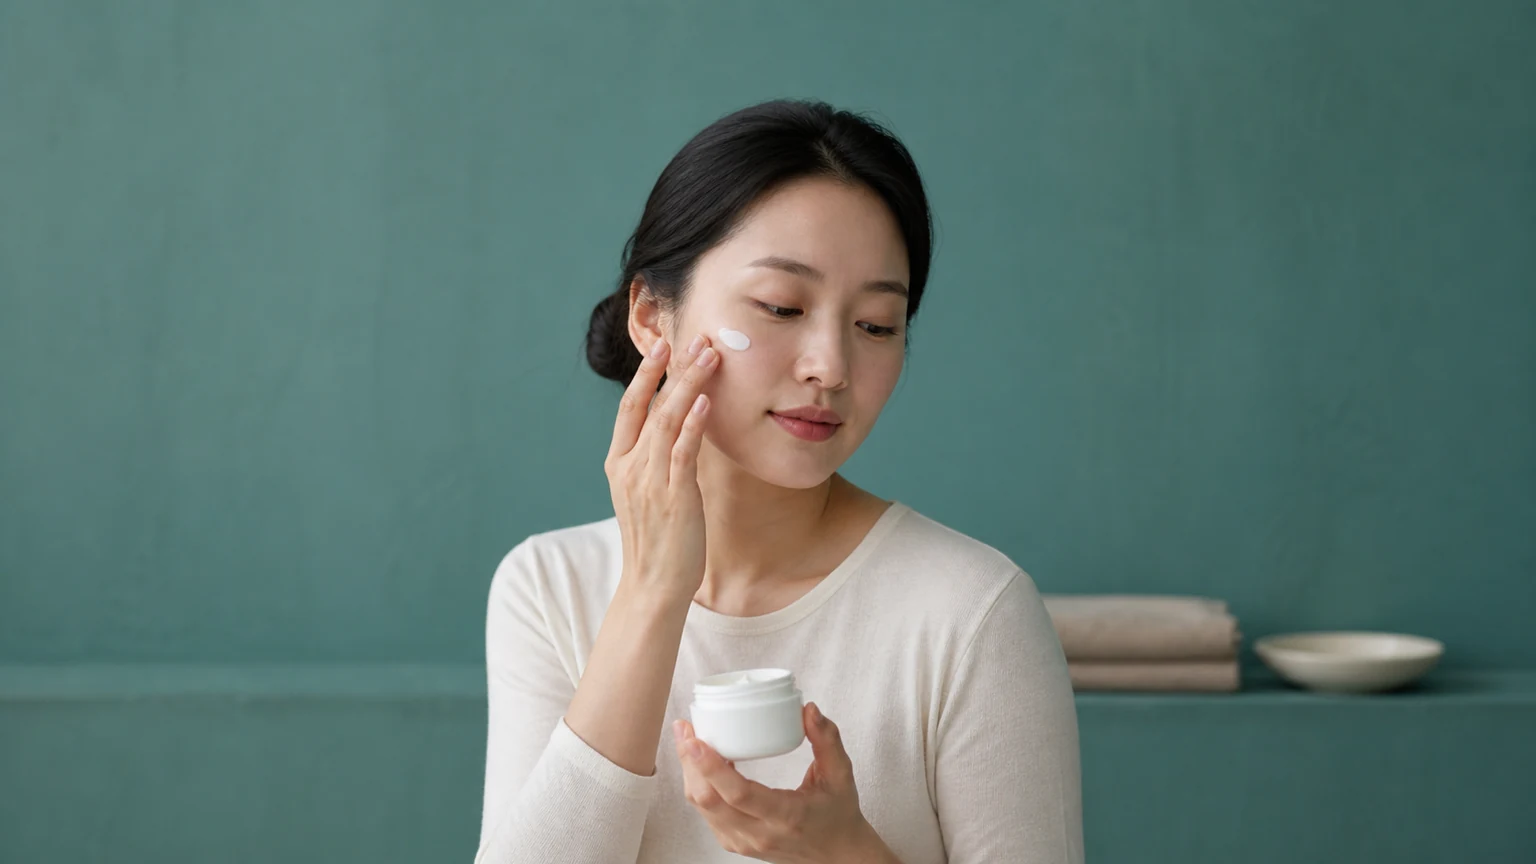
"When can I wear makeup after treatment?"
What to check first is not a single day on the calendar, but four axes: surface integrity · irritation trend · written procedure guidance · tool hygiene. Even on the same "day after treatment," a day with needle marks, peeling, or seepage is not the same as a day when the surface has closed and heat and stinging are easing. Fixed internet numbers such as "after 24 hours" or "from day three" are less accurate than lining up the handout you received with what you see now in one simple table.
This article is a spoke guide that goes deep only on restarting makeup. Connect overall recovery axes to the hub seven principles of laser aftercare, and read cleansing and removal before and after makeup with the post-treatment cleansing guide. Cellinique Clinic—about a 10-minute walk from Apgujeong Station or Hakdong Station, at Yeonseung Building, 228 Dosan-daero—shares the check order we use in consultation.
3-line summary
1. Restart decisions put surface integrity · irritation trend · written guidance — three items — ahead of the clock.
2. In the allowed window, start with four steps: clean hands and tools · simple products that already suit you · narrow areas · a removal plan before application.
3. Injectable, energy-based, and combined schedules ask different questions—use the family table—and track responses for 1–2 weeks; reverse-plan major dates across 4–6 weeks.
1. Check the four axes in good light before you restart
Before you pick up concealer, write the four axes below into a phone note. Once those four lines are clear, guidance on when, with what, and how far becomes concrete.
| Check axis | Example questions | Memo to keep at home |
|---|---|---|
| Surface integrity | Are needle marks, peeling, seepage, or bleeding visible? | 1–2 photos per area |
| Irritation trend | Are heat, stinging, redness, and swelling easing? | Compare morning and evening twice |
| Written guidance | Does the handout state same-day and next-day makeup limits? | Keep a photo of the handout |
| Tools and products | Do you have washed, fully dry brushes and puffs, plus products that already suit you? | Last wash date, product names |
If bleeding continues, seepage is wide, blisters appear, or heat spreads quickly, use the contact path you were given before covering with makeup. Even when the surface looks dry, if pain increases when you rub or press, treat that as too early for application and removal friction and stay with moisturizing and protection first.
Good light matters because bathroom vanity lighting can hide mild sheen, pinpoint marks, or uneven color. Check near a window or under neutral indoor light, and photograph the same angles you will check again later. A photo taken only from far away makes it hard to compare "better than yesterday" with "same as yesterday."
Write the four axes as short answers, not long paragraphs: surface open or closed; trend better, same, or worse; handout yes or no for today's plan; tools clean and dry. That format is easy to show in consultation and keeps you from relying on memory alone when the day is busy.
2. Different treatment families raise different makeup questions
One makeup chart does not fit every procedure. Even splitting by family changes the questions. Review overall recovery axes in the seven principles of laser aftercare hub, and narrow the questions here as in the table below.
| Treatment family | What makeup especially affects | Guidance to receive in consultation |
|---|---|---|
| Injectable (skin boosters, fillers, etc.) | Needle marks, local swelling, pressure, rubbing | Contact intensity by area; whether same-day cover is allowed |
| Energy-based (laser, lifting, etc.) | Surface heat, redness, peeling, scabs, films | Restart timing, allowed textures, friction limits |
| Combined schedule | Conflicts between intervals and makeup rules | Store each procedure's handout separately |
If you have a combined plan, ask once whether the days or weeks between sessions fit with makeup and cleansing transitions. Separate handouts per procedure are easy to tangle. Written routines for the next 1–2 weeks reduce confusion.
Fact check — evidence level: regulatory guidance document
U.S. Food and Drug Administration (FDA) guidance on dermal fillers (soft tissue fillers) lists common reactions soon after injection—including bruising, redness, swelling, pain, tenderness, and itching—and describes a course that often eases over days to weeks in many cases. Less commonly, heavier reactions such as infection, open wounds or discharge, and tissue injury also appear on the list.
This document is regulatory guidance summarizing device and procedure risks and patient information for fillers. It is not a table that sets allowed makeup days for every aesthetic procedure. Makeup restart should be aligned in consultation with procedure type, current surface status, and written guidance. (Source: U.S. Food and Drug Administration, Dermal Fillers (Soft Tissue Fillers))
So when you plan makeup in the early post-injection window, do not only count "which day it is." Also note whether swelling and redness are trending down, whether there is no open wound or discharge, and any contact or pressure limits in the handout. For non-filler procedures, you can keep the same surface-and-irritation observation frame.
Family labels are a consultation tool, not a ranking of risk. "Injectable" is not automatically safer or riskier for makeup than "energy-based"; the surface picture and written limits differ. If two procedures fall in one week, ask which rule is stricter and follow the stricter limit until you receive a single merged schedule.
3. In the allowed window, start narrow with four steps
Even after makeup is allowed on paper, start with the four steps below rather than full coverage from the first session. Skipping a step makes it hard to tell which action caused irritation.
| Step | Practice | Memo |
|---|---|---|
| Step 1 | Wash hands; use only tools that are clean and fully dry | Wash date and dry status |
| Step 2 | Only 1–2 products that already suit you | Postpone new-product trials |
| Step 3 | Leave sensitive areas bare; start with a small zone | Area map photo |
| Step 4 | Confirm evening removal before you apply | Allowed cleanser and remover range |
Layering many coats for more coverage or stacking strong setting sprays increases both application friction and removal friction. Even in the allowed window, keep the set of three axes—small amount · fewest layers · short contact—together so evaluation stays clear.
"Narrow" means geographic narrowness as well as product narrowness. Covering one cheek first, or only areas that never received needles, is easier to reverse than a full-face base. If the next morning looks calmer, you can widen carefully; if stinging rose after removal, you already know which zone and which product pair to adjust first.
Time of day also belongs in the plan. A short evening outing with easy removal is a different load from a long workday under air conditioning followed by stubborn waterproof makeup. When in doubt, choose the shorter wear time first, then extend wear only after the same product set has been calm for several days.
4. Put hand, brush, and puff hygiene before product choice
In the early post-procedure window, factors that raise infection or irritation risk are often hands · tools · jar rims more than a new cushion shade. Fix the table below before you expand product count.
| Item | Preferred actions | Actions to reduce |
|---|---|---|
| Hands | Wash before and after makeup; touch only after drying | Repeatedly touching treated areas with unwashed hands |
| Brushes and puffs | Only tools washed and fully dry | Damp sponges; long-used dirty tools |
| Containers and testers | Personal products; manage lids and pumps | In-store shared testers; open jars scooped with fingers repeatedly |
| Contact range | Reduce back-and-forth rubbing over treated areas with tools | Full-face rubbing with one puff, then reusing it on sensitive zones |
For puffs and sponges, prefer wash methods that match guidance and product instructions, then full drying, not a quick water rinse alone. Tools with odor, discoloration, or long use are replacement candidates. In recovery windows, do not press shared testers directly onto skin. Once hygiene axes are tidy, product-choice variables shrink and consultation explanations move faster.
Fact check — evidence level: regulatory guidance document
FDA consumer guidance on dermal filler do's and don'ts treats fillers as medical procedures and recommends proceeding with licensed clinicians who have training and experience. It also advises seeking immediate medical help for unusual pain during or right after injection, vision changes, pale, gray, or blue changes near the injection site, or symptoms that may suggest stroke. Risks such as infection, open wounds, and discharge are summarized in the same consumer guidance.
This guidance is consumer information on filler selection, pre-procedure checks, and warning signs. It is not a list that ranks cushion or foundation products. Whether makeup is appropriate after treatment, and when to contact the clinic, should be confirmed with the treating institution based on your handout and current symptoms. (Source: U.S. Food and Drug Administration, Dermal Filler Do's and Don'ts for Wrinkles, Lips and More)
In practice, keep three items on the same line: the makeup allowance range given by the treating clinician, presence or absence of open wounds or discharge, and urgent signals such as pain, vision, or skin-color change. If urgent signals appear, prioritize evaluation over covering with makeup. General observation points are on the treatment safety page.
Hygiene is also a schedule item. Wash tools the night before a planned restart day so they dry fully; wet tools used "because you are late" undo the step table. Label one brush or puff set as recovery-only if household members share makeup, so cross-use does not become an invisible variable when skin feels irritated later.
5. Simplify products and plan removal as one set
Recovery is not a good time to trial new color cosmetics, new fragrances, or strong fixatives. Prefer products you already use without irritation, and decide evening removal before you apply. Choosing hard-to-remove formulas can raise removal friction and conflict with cleansing guidance.
| Category | Priority choice | Consultation and memo |
|---|---|---|
| Base | Thin layers; textures that already suit you | Whether allowed; list of excluded areas |
| Spot cover | Small amounts; leave sensitive zones bare | Rubbing intensity |
| Eyes and lips | Separate guidance if eyes or lips were treated | Same-day allowed range |
| Removal | Allowed cleanser, lukewarm water, press-and-wipe | Same table as the cleansing guide |
Do not assume makeup alone is enough UV protection. Plan allowed post-treatment sun protection together with hats and shade. Do not treat cleansing-allowed days and makeup-allowed days as the same; get each handout and write them as two lines in your notes so schedules tangle less. Use the temperature and friction table in the post-treatment cleansing guide as written.
Product simplicity also helps if something stings. With one base and one spot product, you can change one variable at a time. With five new products on day one of restart, every reaction becomes a guess. Keep packaging photos or names in the same note as your area map so consultation can reconstruct what touched skin and when.
If eye or lip zones were treated, treat those as separate rules even when the rest of the face is allowed. Mascara, pencil, and long-wear lip formulas often need more removal force than a sheer face tint. When guidance is unclear, leave eyes and lips bare first and expand only after the clinician confirms that step.
6. Split the schedule into same day, next day to several days, and 1–2 weeks
Makeup planning, like recovery, becomes schedulable when you ask across three windows.
| Window | What to check for makeup | Calendar impact |
|---|---|---|
| Treatment day | Whether allowed before going home; keep dressings or ointments as directed | Same-day photos and outings |
| Next day to several days | Surface and irritation trend; which zones to leave bare | Minimal makeup for work or meetings |
| 1–2 weeks | Expand product steps; keep tool hygiene | When full coverage or new-product trials may start |
If you have important photos or events, say that date first and review a 4–6 week plan together. Reverse-planning procedure day and makeup–cleansing transition points against that buffer is safer. Overlap with the hub activity-restart table so exercise, sauna, and makeup do not all pile onto the same day.
Write the three windows next to your social calendar, not only next to medical notes. A Monday meeting with camera-on calls may need a stricter face plan than a quiet weekend at home. If two procedures are booked within 1–2 weeks, ask whether makeup rules reset after each session or carry forward—combined schedules often fail here when people keep the first procedure's looser rule after a second, stricter one.
Reverse planning is not only for weddings. Job interviews, stage work, close-up content shoots, and travel with limited product access all justify early calendar talk. Share constraints in consultation so restart steps can be ordered, not improvised the night before an event.
7. Contact-needed signals and how to record
Mild redness or dryness inside the expected range differs from changes that need contact. Pain that worsens over time, heat, redness, or swelling that spreads widely, blisters, seepage, repeated bleeding, vision changes, breathing or swallowing difficulty, and pale, gray, or blue color near an injection site are signals to prioritize evaluation over makeup or product experiments.
| Band | Example signals | Action |
|---|---|---|
| Observe | Mild redness or heat easing as expected; dryness within guidance | Photos and notes; keep the guided routine |
| Scale back | Stinging rises right after makeup or removal; irritation after tool friction | Adjust the most recent one change first (product, layers, or tool) |
| Contact and evaluate | Rising pain; rapid swelling or heat; blisters or seepage; vision or breathing changes | Stop product trials and use the contact path |
For records, keep 1–2 photos per day in similar lighting, plus products and tools used and pain, heat, redness, swelling, or seepage before and after application, for 1–2 weeks. A time axis makes the notes usable. Write what to check the same day, what to watch for 2–3 days, and what still present or growing after 1 week should prompt contact. General observation items are on the treatment safety page; paths can be confirmed via consultation.
Do not use makeup to "test whether pain is still there." If a zone hurts before product touches it, treating that zone as a coverage challenge can delay contact. Record the pain first, then ask whether cover is appropriate. Evening changes deserve the same seriousness as daytime ones—save after-hours routes next to the three bands so you do not search the website again under stress.
One change at a time is the rule for scale-back. If you swapped both foundation and puff and stinging rose, you cannot know which variable mattered. Revert the last change, wait through a calm day if guidance allows observation, and only then test the next variable. That discipline is how recovery notes stay useful instead of becoming a pile of simultaneous experiments.
8. Post-treatment makeup checklist
□ Did you save procedure name, area, date, and makeup allowance as handout photos
□ Did you write the four axes (surface · irritation trend · guidance · tools) before restart
□ Did you confirm the surface is intact without peeling, seepage, or bleeding
□ Did you compare morning and evening twice for easing heat, stinging, and redness
□ Did you prepare only fully dry brushes and puffs after hand washing
□ Did you simplify to 1–2 familiar products and postpone new trials
□ Did you leave sensitive areas bare and start with a narrow zone
□ Did you confirm removal method and cleansing guidance before applying (cleansing guide)
□ Did you receive separate plans for same day · next day · 1–2 weeks — three windows
□ Did you review observe · scale-back · contact signals and the treatment safety page
□ Did you align overall recovery with the seven principles of laser aftercare
□ Did you cross-check the next 4–6 weeks of plans
It looks like many items, but the core is four bundles: keep the handout · check four axes · hygiene and simple products · removal plan. With those alone, questions become concrete when you read the hub article.
Print or pin the checklist next to your sink for the first week. Checking boxes in the moment beats reconstructing the night later from memory. If a box stays empty on a day you still plan to wear makeup, that empty box is a reason to pause—not a minor detail to skip because the mirror "looks fine enough."
Frequently asked questions
Q1. Can everyone wear makeup the day after treatment?
A shared answer by calendar day alone is hard. Align surface integrity · irritation trend · procedure guidance — three items — first, then start within the allowed range using the four steps (hygiene · simple products · narrow zone · removal plan). A photo of the handout speeds consultation.
Q2. Can I just cover the red areas with concealer?
When there is no surface damage or seepage and the trend is not worsening, a small amount may be considered. Leave zones that sting more when rubbed or removed bare, and prefer one thin pass rather than stacking many layers.
Q3. Can I try new cosmetics?
In recovery it is hard to separate reaction causes. Prefer 1–2 products that already suit you, and postpone new color, fragrance, or strong fixative trials until the surface is more stable—evaluation is clearer that way.
Q4. Is rinsing a puff with water enough?
Prefer wash-then-full dry rather than water rinse alone. Tools with odor, discoloration, or long use are replacement candidates; do not press shared testers directly on skin. Hand washing before makeup sits on the same line.
Q5. What about sunscreen and makeup the morning of treatment?
Guidance depends on procedure type and same-day protocol. When you confirm the appointment, ask specifically which products are allowed that morning, and note sun protection and makeup restart after you go home separately. Do not assume they match cleansing-allowed days.
Q6. Removal seems more irritating than application
Reduce hard-to-remove setups from the start, and use allowed cleanser, lukewarm water, and towel press-and-wipe. Match temperature, friction, and textures to the post-treatment cleansing guide table. If stinging rises right after removal, adjust the most recent one change first.
Q7. Which symptoms mean I should contact right away?
Rising pain; rapidly spreading swelling, heat, or redness; blisters, seepage, or repeated bleeding; vision changes; breathing or swallowing difficulty; and pale, gray, or blue color near an injection site prioritize contact and evaluation over covering with makeup. General items are on the treatment safety page; paths can be checked via consultation.
Q8. When is full coverage possible?
Surface status and written guidance come before a calendar day count. Usually expand products and area step by step over 1–2 weeks, and reverse-plan important shoots across 4–6 weeks together with the procedure day. Overlap overall activity restart with the hub seven principles of laser aftercare.
Consultation information
Cellinique Clinic is at Yeonseung Building, 228 Dosan-daero, Gangnam-gu, Seoul—about a 10-minute walk from Apgujeong Station or Hakdong Station. Medical Director Dr. Chris Gunwoo Kim handles consultation, treatment, and aftercare directly. Makeup restart timing, products, and tool combinations after treatment are confirmed individually in consultation. General safety items are on the treatment safety page.
This article is general information and does not replace medical care. Diagnosis and plans suited to your condition should be confirmed in consultation.
Sources
- Dermal Fillers (Soft Tissue Fillers) · U.S. Food and Drug Administration
- Dermal Filler Do's and Don'ts for Wrinkles, Lips and More · U.S. Food and Drug Administration
Discuss options for your current needs
We review your current health and prior procedures before explaining appropriate options and their limits.